Discover our solutions in the medical field
Accuracy and traceability is not an option in the medical field, Metro products help you achieve your goals.
Metro has a solid experience in the dimensional control of medical parts.
The air gaging method makes possible to accurately measure different dimensions on tapers of knee and hip prostheses, but also dental implants.
Measurement by contact allows other types of control such as measuring the diameter of syringe needles or the thickness of welds on blood bags.
The MB-NET system is widely used by our customers who must meet measurement traceability requirements, so we are able to generate complete and personalized measurement reports, completed with various information such as the batch number, the name of the operator etc.
METRO product applications in the medical field
For this customer, European leader in the manufacture of hip prostheses, we supplied cone measurement systems.
The control assembly consists of a pneumatic ring with 24 independent measurement points, distributed over 3 altitudes. We measure the diameters at the 3 altitudes, a circularity at each altitude, the angle of the cone in decimal degrees and degrees/minutes/seconds. We also calculate the theoretical diameter at the gauge plane.
Our system is also used to acquire a Mitutoyo roughness meter, which directly sends the roughness and straightness values to the M400 Metro display via an RS232 link.
At the start of the control, the operator must enter various information with a QR-code reader such as the batch number, its name, the plan number, etc. All of this information is then compiled into a final report in customer format. Automatically, files are archived and reports printed at the end of each batch.
Finally, we control the air regulator by reducing the pressure by 10 when the ring is not measuring, to save air (therefore electricity) and limit noise. We do not shut off the air completely to maintain a constant temperature of the measuring tool.
We have also integrated a calibration traceability system.
At the mechanical level, the surface state of the cone being deliberately rough, we measure with air setting in motion carbide gauges so as not to be influenced by the roughness of the part.
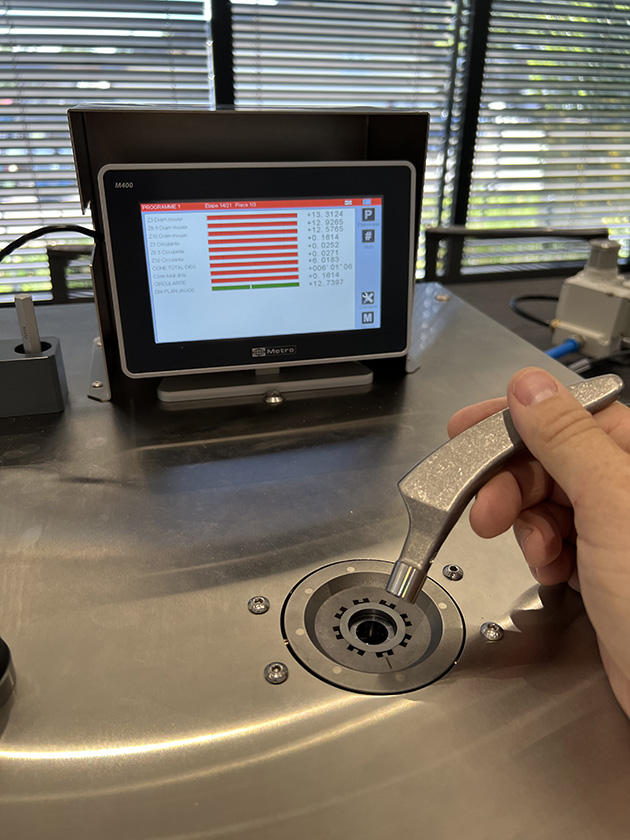
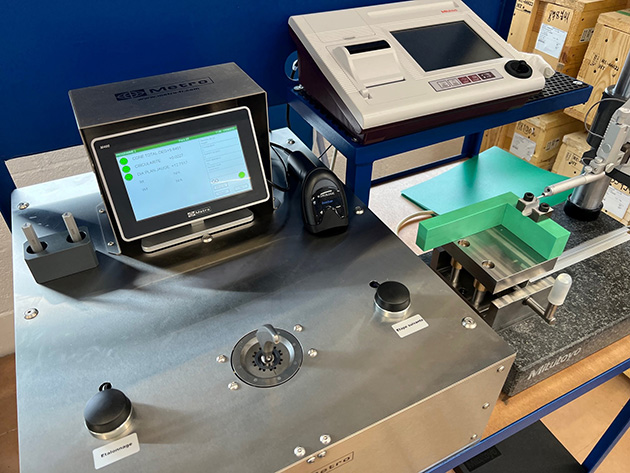
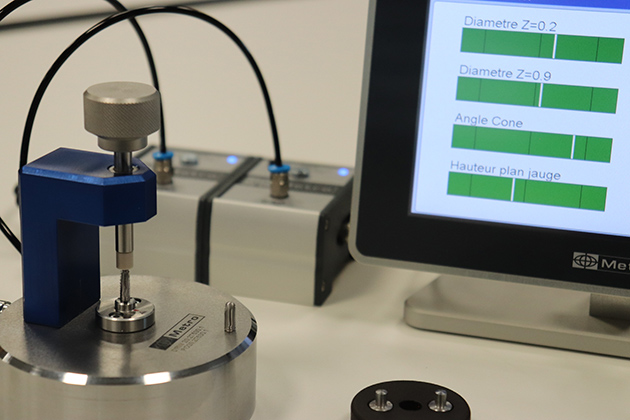
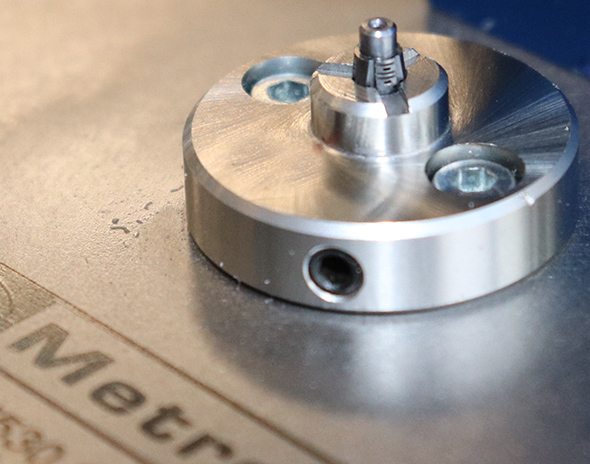
We provide pneumatic systems to measure various parameters on dental implants or prosthetic parts.
Our systems are capable of simultaneously measuring 2 internal (for implants) or external (prosthetic parts) diameters to deduce a taper angle and a diameter at the gauge plane.
The measurement results are then clearly displayed on our M400 display, and are generally transmitted over the company network to obtain measurement traceability.
Our M400 display also allows you to enter attributes characteristics such as "absence of scratches", which will be integrated into the inspection report generated by our MB-NET system.
Some customers also supplement this cone control with other parameters, such as measuring the length of the implant using a caliper also connected and displayed on the M400.
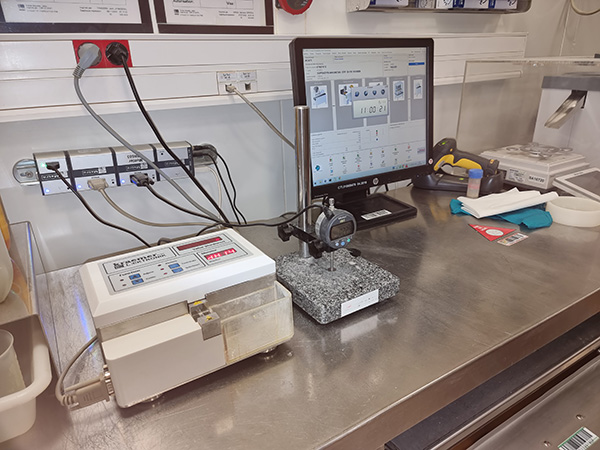
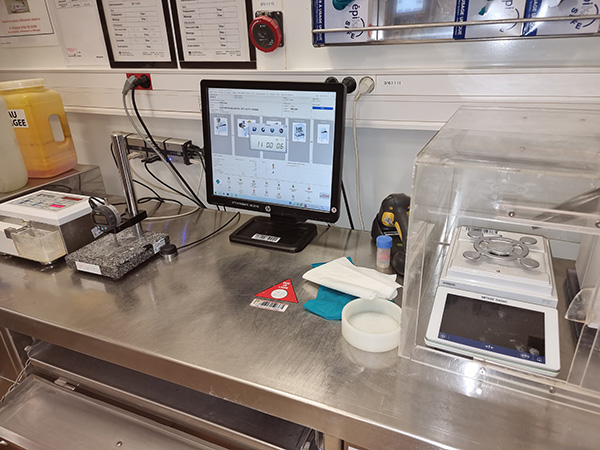
At this tablet manufacturer, various devices are used for quality control, including durometers, comparators, weighting scales;
Metro provides acquisition systems to centralize the measurements from these various devices for import into the quality monitoring software.
